Darning Socks: Three Slow‑Stitch Experiments to Learn Mending
Question
Can a few quiet, focused experiments teach you to mend a pair of socks so they last longer and feel better to wear? This studio-notes piece treats darning as a skill to learn in small steps: problem, principles, examples, and a concise practice checklist.
Problem
We wear socks until toes or heels thin out, then shrug and replace them. That habit creates waste and misses a chance for a small, satisfying craft. Darning is a practical, low-cost skill that restores usefulness, connects you to material care, and rewards a slow, patient way of working. The barrier for many is not the technique itself but uncertainty: What tools are essential? How much time will it take? How should it look—neat and invisible, or visible and decorative?
Principles
Approach darning with these guiding ideas:
- Observe first. Turn the sock inside out, examine the hole, note the direction of the fabric weave, and decide whether the area needs patching, reinforcement, or a simple stitch.
- Use simple tools. A blunt darning needle (or tapestry needle), sturdy thread or yarn slightly finer than the sock, embroidery hoop or small clamp if helpful, and sharp scissors are enough.
- Start small and slow. Treat the first attempts as experiments rather than repairs that must be perfect. Time yourself if you like, but prioritize steady movement and attention.
- Choose an aesthetic. You can aim for invisible mending that blends with the fabric, or embrace visible darning as decoration. Both are valid; pick whichever keeps you engaged.
Examples (Process and Review)
Below are three focused experiments. Each one is short and designed to teach a particular aspect of mending.
Experiment 1 — The Reinforced Weave (10–20 minutes)
Purpose: Learn to follow the fabric’s structure by making a supportive weave over a worn heel or thin spot.
Process:
- Turn the sock inside out and place it over a darning mushroom, small jar, or your knee to give shape.
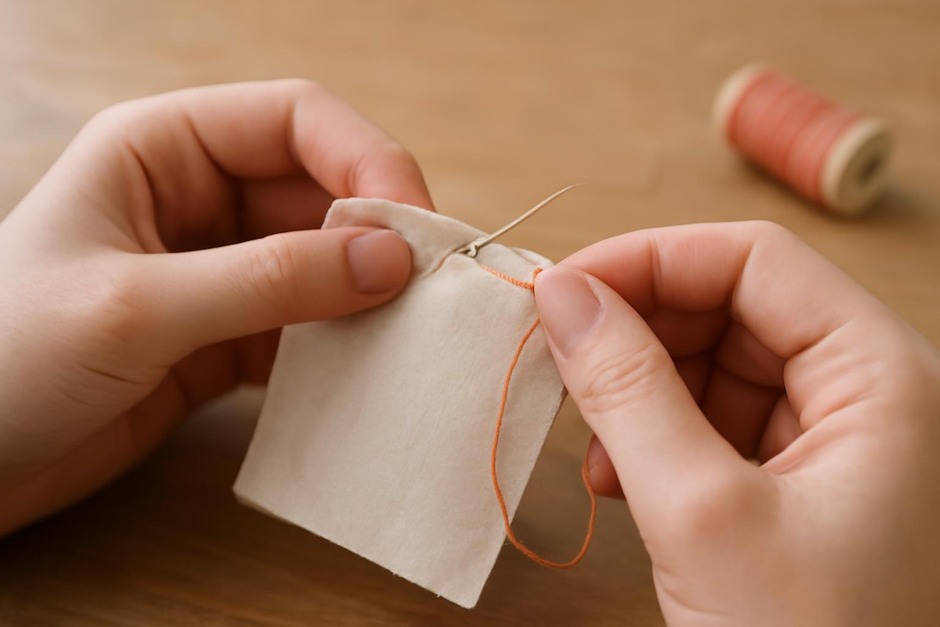
- Trim loose threads and anchor a short length of thread near the edge of the hole with a few small running stitches.
- Make a series of parallel running stitches across the hole (warp), spaced to mimic the knit, but a bit closer for reinforcement.
- Weave the thread back and forth perpendicular to those stitches (weft), going over and under to create a small fabric patch.
- Tidy the ends with a few small knots on the wrong side and trim.
Review: This builds confidence following the sock’s structure. The repair is fairly discreet if you match the thread color; if you choose contrast, it becomes a deliberate mark.
Experiment 2 — The Invisible Rebuild (20–30 minutes)
Purpose: Practice subtle mending that blends into the knit.
Process:
- Select thread or yarn closely matching the sock in color and weight.
- Using small, close stitches, pick up loops from the intact knit around the hole and draw them across to close gaps, working slowly so your stitches echo the original knit tension.
- Focus on even tension; too tight will pucker, too loose will snag.
Review: This takes more patience but yields a nearly invisible repair. It’s especially satisfying for favorite socks you want to keep wearing without obvious mending.
Experiment 3 — Decorative Patch (15–30 minutes)
Purpose: Practice a visible repair that adds character.
Process:
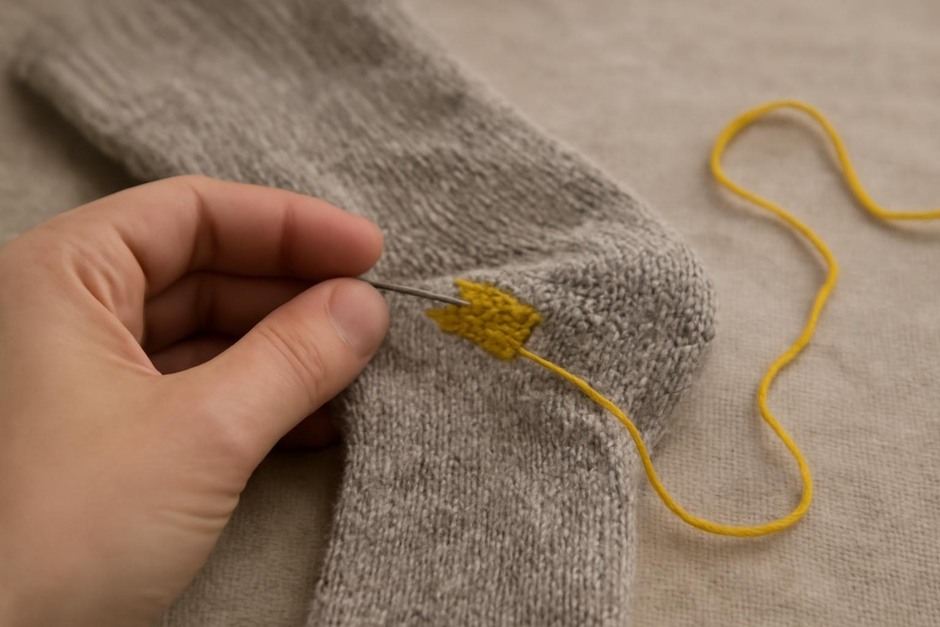
- Choose a contrasting yarn and a simple motif—banded stripes, a small circle, or a crosshatch.
- Anchor the yarn outside the hole and apply the motif across and beyond the worn area, turning the mend into a designed patch.
- Secure ends neatly on the wrong side so the exterior remains pleasant.
Review: Decorative darning removes the pressure for invisibility and encourages playful repetition. It can turn a practical repair into a signature detail.
Concise Practice Checklist
- Gather tools: blunt darning needle, sturdy thread/yarn, scissors, and a small form (mushroom/jar/knee).
- Inspect the sock: inside-out, assess hole size and surrounding fabric.
- Decide style: invisible, reinforced, or decorative.
- Anchor thread with a few small stitches; work slowly and keep tension even.
- Finish with secure knots on the wrong side and trim tidy ends.
- Wear and observe: check the mend after a wash or two and adjust technique next time.
Final note: Treat these experiments as studio time, not errands. A single small mend can teach a surprising amount about how material behaves and how your hands learn shape and rhythm. Keep a plain notebook of observations—what thread worked, how long each mend took, and how the sock held up—and you’ll notice steady improvement in a few quiet sessions.