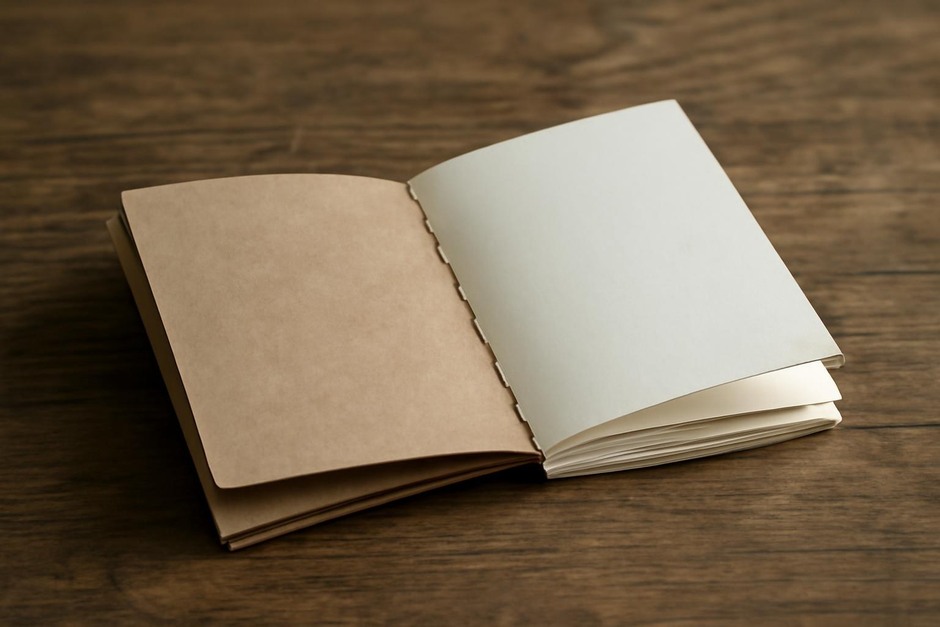
Four Small Experiments to Learn Handbinding: Make a Simple Notebook
Books as objects have a long, practical history: the codex replaced scrolls in late antiquity because folded gatherings of leaves were easier to handle and to carry. Over centuries, simple techniques for joining folded sheets—signatures—evolved into the handbinding traditions we use today. The same core idea underlies a modern handmade notebook: folded sheets sewn through their fold and anchored to a cover. Learning that single action opens the door to more confident, repairable, and personal stationery.
How to use these experiments
Each experiment is short and focused, building one skill that leads to the next. Materials are minimal and familiar: paper, thread, a sharp awl or needle, and a simple cover material. Work at a relaxed pace. The goal is steady practice rather than perfection.
Materials
- 20–40 sheets of writing or printer paper (cut in half to A5 from A4, or trim to your preferred size)
- Cardstock or thin cardboard for covers
- Waxed linen thread or sturdy embroidery thread
- Bookbinding needle or large tapestry needle
- Awl or thick needle to punch holes
- Ruler, pencil, and a craft knife or scissors
- Clips or a small weight to hold signatures while sewing
Experiment 1 — Fold and bind a single signature (Pamphlet stitch)
Time: 20–30 minutes. Skill goal: feel the rhythm of sewing through a fold.
- Take 4–8 sheets, nest them together, and fold them in half neatly. Press the fold with a bone folder or the back of a thumbnail.
- Cut a piece of cardstock slightly larger than the folded pages for your cover. Fold it to match the signature.
- Measure three evenly spaced points along the fold (center and nearer each end) and mark them.
- Punch holes through the fold with an awl at the three marks.
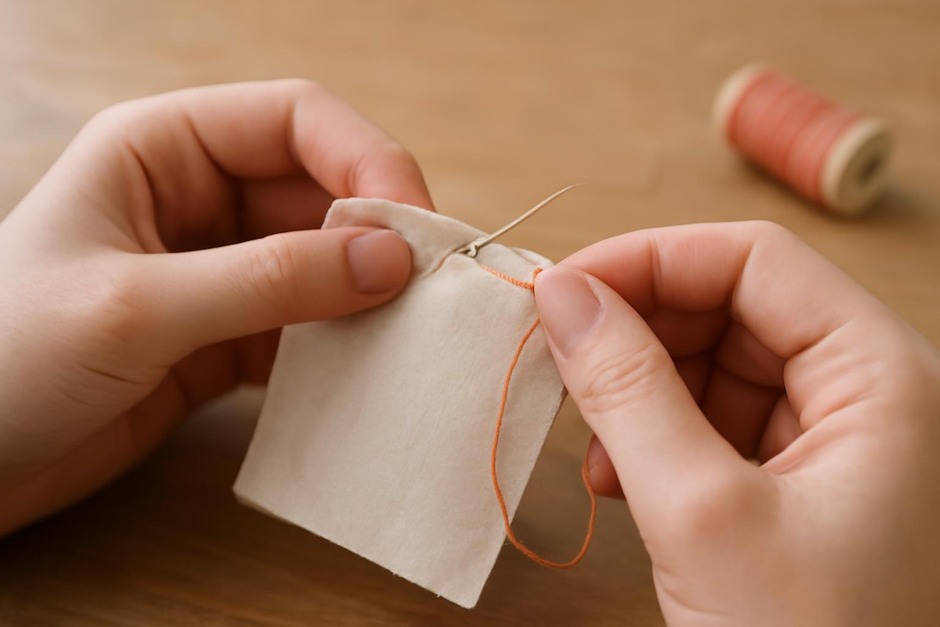
- Thread the needle with about twice the height of the book in thread. Start from the inside center hole, leave a short tail inside, and sew out the center hole, then in through the top, back out through the center, in through the bottom, and finish by tying the two tails inside the signature.
Try one or two of these. The repetition trains your hand to find holes, pull thread evenly, and judge tension. Each finished booklet is a usable notebook or a nice handmade gift.
Experiment 2 — Longer signatures and multiple stations
Time: 30–45 minutes. Skill goal: control of tension across a longer sewing line.
- Make a signature of 8–12 sheets. Mark five or seven sewing stations along the fold rather than three.
- Punch all holes, then practice passing the thread from hole to hole with a continuous running stitch, keeping the thread snug but not puckering the paper.
- Finish by tying a small knot or making a looped knot near the center so the signature lies flat.
Notice how your rhythm adjusts when there are more stations. If pages want to crumple, slightly reduce tension or use fewer sheets per signature next time.
Experiment 3 — Sewing multiple signatures into one book (linking signatures)
Time: 45–60 minutes. Skill goal: join signatures to form a durable book block.
- Prepare two or three signatures of 8–12 sheets each and a cover of cardstock or thin board folded to size.
- Sew the first signature as before but leave the knot loose. When you reach the center hole on your second pass, instead of tying off, continue through the corresponding hole of the next signature, linking them. Repeat until all signatures are connected.
- When all are linked, tie off securely inside the center signature. Check that the book opens freely and the spine lies reasonably flat.
This linking technique echoes medieval and early modern sewing methods in miniature. It teaches negotiation between neatness, tension, and flexibility.
Experiment 4 — Add a simple case and finishing touches
Time: 45–60 minutes. Skill goal: assemble a cover that protects and presents the sewn book.
- Trim the spine edge so it is even. Cut a cover board that overlaps the book block by a few millimeters on all sides.
- Option A: Attach the cover directly by sewing through the outermost holes so the thread loops around the cover fold. Option B: Glue a paper cover and press under weight until dry for a cleaner look with fewer tools.
- Experiment with decorative elements: a small label, endpapers, or a wraparound cord to keep the book closed.
Finishing teaches the relationship between structure and aesthetics. You may find you prefer a sturdier cover for everyday use or a lighter one for a pocket sketchbook.
Final notes
Each experiment builds a tactile understanding of how pages, thread, and cover interact. Over several short sessions you gain a reliable hand, an eye for neat timing, and the confidence to adapt materials. Keep a small log of what you change—paper weight, number of holes, or thread type—and you will see progress in a few notebooks. Handbinding is a practical craft with humble tools and a long history; working slowly with those tools connects the maker to centuries of everyday bookmaking.