Five Small Composting Experiments to Turn Kitchen Scraps into Rich Soil
Composting is quietly practical: it reduces waste, feeds your plants, and invites a kind of patient observation. These five small experiments are arranged to teach the core composting principles—carbon to nitrogen balance, moisture, aeration, and time—through simple, repeatable practices you can do in a kitchen jar, a balcony bin, or a backyard corner.
What to watch for before you begin
Across all experiments, the same cues will tell you whether things are moving along: smell (earthy is good; sharp ammonia or rot means too much nitrogen or poor air), texture (materials should look and feel broken down), temperature (active piles warm up), and moisture (think a wrung-out sponge). As you try each experiment, note one small change at a time so you can connect cause and effect.
Experiment 1 — The Glass Jar Observation (Time: 2–8 weeks)
Purpose: See decomposition in a controlled, visible vessel.
- Take a clear jar and add alternating thin layers of green scraps (pea pods, vegetable peels, coffee grounds) and brown material (shredded paper, dry leaves). Aim for about three layers of brown for every layer of green by volume.
- Close the lid loosely so gases can escape and leave the jar in a shaded spot. Every few days, open and smell, press slightly to check moisture, and note any change in color or texture.
What you learn: Decomposition happens even with modest oxygen. A sour smell signals too much wet, green material; dryness slows breakdown. This simple setup teaches the balance principle in miniature.
Experiment 2 — The Aerated Mason Jar (Time: 1–4 weeks)
Purpose: Isolate the role of oxygen.
- Repeat the jar layers but punch or drill a few small holes in the lid for airflow. Keep the same brown-to-green proportions.
- Turn the jar gently once every 3–4 days and compare smell, color, and speed of breakdown to Experiment 1.
What you learn: Aeration accelerates and removes unpleasant odors. Compost that receives regular air tends to be more uniform and ready sooner; this helps decide whether you need to turn a larger bin.
Experiment 3 — The Mini Bin Mix (Time: 4–12 weeks)
Purpose: Practice layering and moisture control at a practical scale.
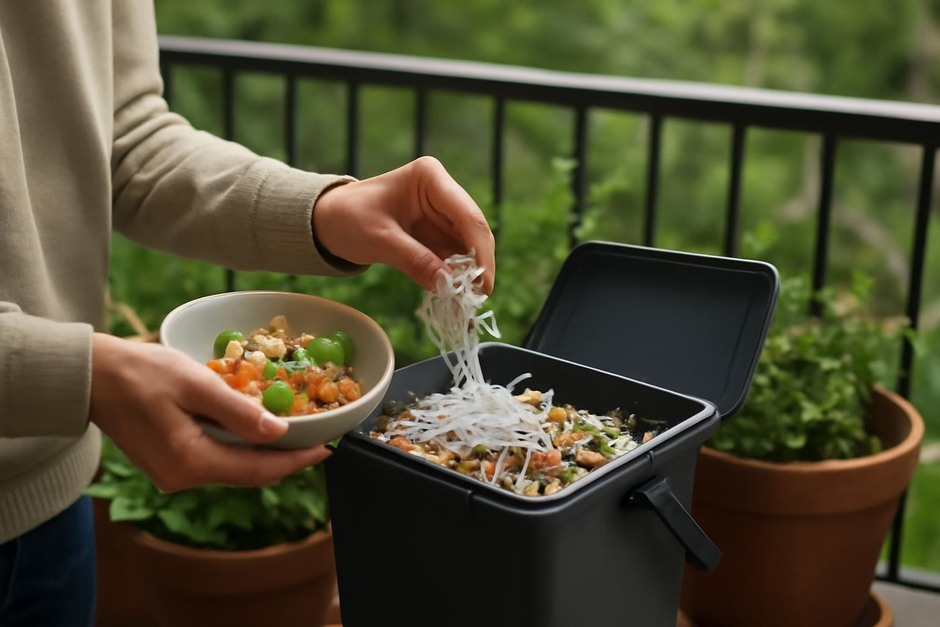
- Use a small plastic or wooden bin (about 5–10 gallons). Start with a coarse drainage layer (twigs or shredded cardboard), then add greens and browns in 2–3:1 brown-to-green volume ratios.
- Keep the pile moist like a wrung-out sponge. Turn or stir the mix with a small trowel once a week and monitor temperature by touch—warm is active, cool means slowed activity.
What you learn: Larger volumes buffer moisture and heat. Regular turning and balanced inputs keep smells away and speed decomposition. This experiment is a bridge from observation to practical household composting.
Experiment 4 — Try Vermicompost in a Shoe-Box Scale Bin (Time: 1–3 months)
Purpose: Learn a gentle, low-odor method that works indoors.
- In a shallow box, layer damp shredded paper and add a few handfuls of garden soil, then introduce a small population of red worms if available. Feed small amounts of kitchen scraps in a single corner, covering food with bedding each time.
- Observe how the worms behave, how quickly the scraps disappear, and when the castings look ready to harvest.
What you learn: Vermicomposting favors steady, small inputs and good moisture. It’s less about heat and more about biological processing—useful for apartment dwellers and gardeners who want rich, plant-ready compost.
Experiment 5 — Make and Use a One-Foot Pile (Time: 3–12 months)
Purpose: Move from bin to garden use: finish and apply compost.
- Build a roughly 1-foot cube pile of alternating browns and greens. Leave it static or turn monthly. When material is dark, crumbly, and smells like forest soil, sieve or simply mix it into potting media or top-dress garden beds.
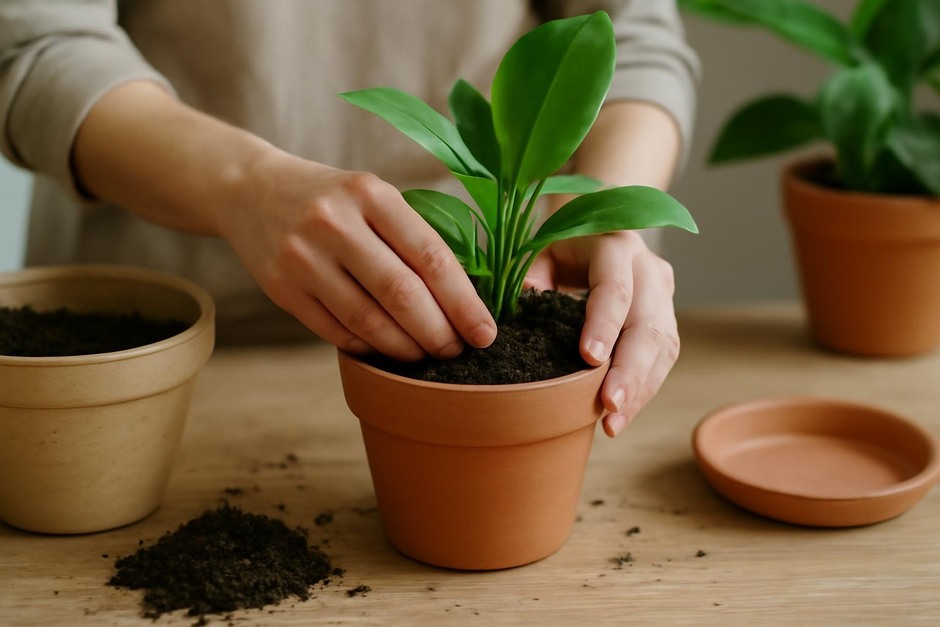
- Plant a small test pot with half new soil and half your finished compost, and compare plant vigor over a month against a control pot without compost.
What you learn: Finished compost improves texture, moisture retention, and nutrient availability. Seeing real plant responses closes the loop from kitchen to soil.
Notes and small precautions
Keep meat, dairy, and oily foods out of basic home piles to avoid pests and odors. If a pile smells strongly of ammonia, add more dry browns and turn it. If it dries out, add water and some greens. These experiments are about slow learning: observe, adjust one factor, and try again.
Each experiment folds a principle into practice. Taken together they form a gentle apprenticeship in composting: you’ll learn to read smells, judge moisture, balance greens and browns, and choose a method that suits your living situation. Composting rewards a little patience with a steady supply of good soil—one small experiment at a time.